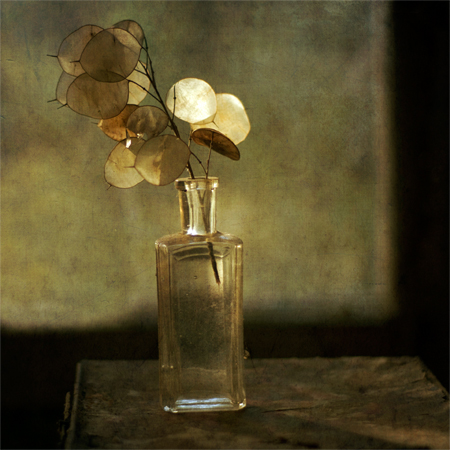
In this quick and easy texture tutorial, I’ll illustrate how I transformed this photo of honesty in a bottle into something more painterly and rich. Mouseover the photo to see the before and after effects. The textures come from Flypaper Tex Box 1 texture pack.
The first texture I tried was Pompeii stucco, an easy-to-use texture that adds depth.

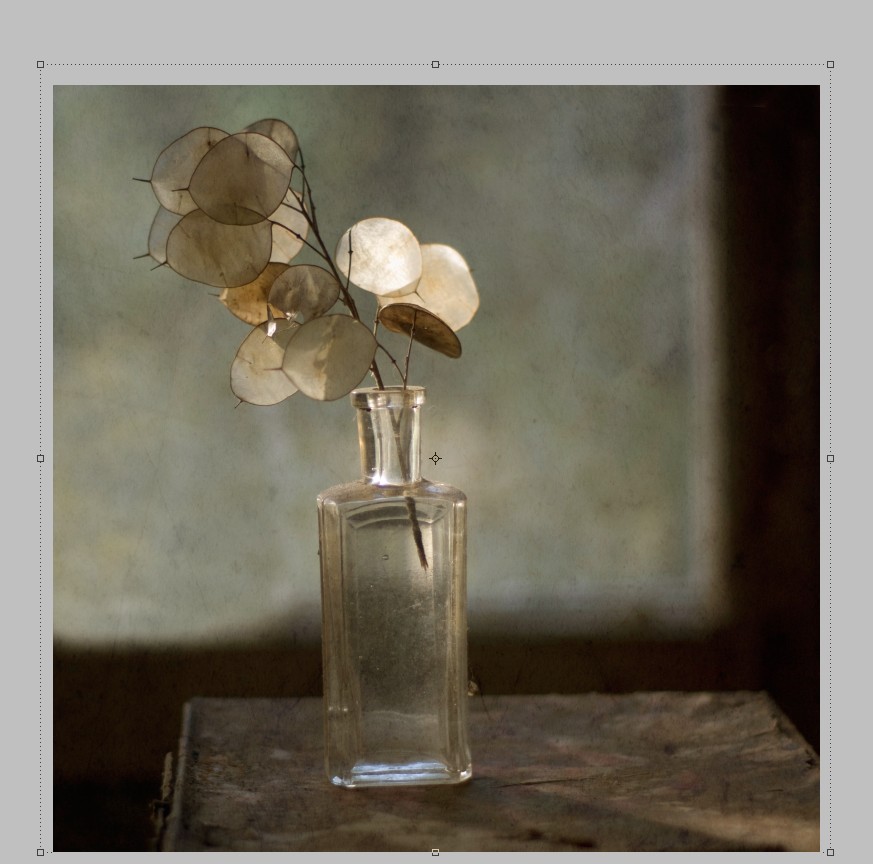
I opened the texture in photoshop and dragged it on top of my photo, don’t worry if your texture is a different size or shape from your image, just resize to fit.
Once your texture is covering your image, have a play with the blending modes and opacities. Here it is at Soft Light 47%
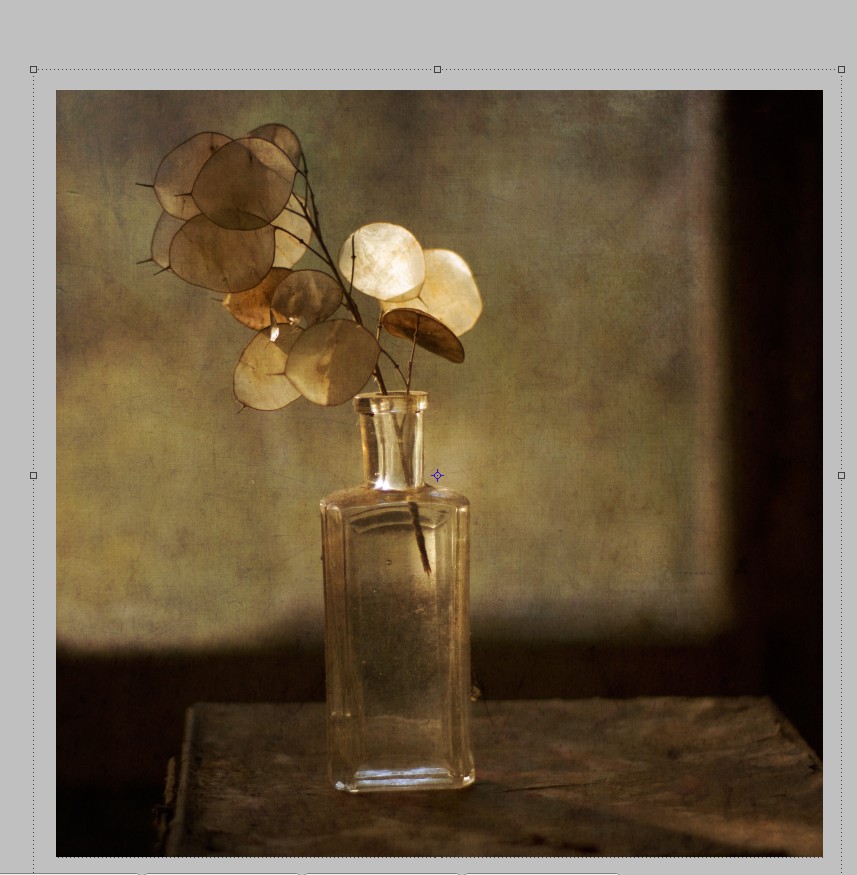
I rarely use just one texture on an image so I tried some more and ended up using a layer of Necropolis at Overlay -40% and a layer of Elysium at Colour burn -14%
Just a quick curves adjustment layer to tweak the tone and contrast a little. Click “Create new fill or adjustment layer” button at the bottom of your layers pallet and selecting curves from the drop down list.
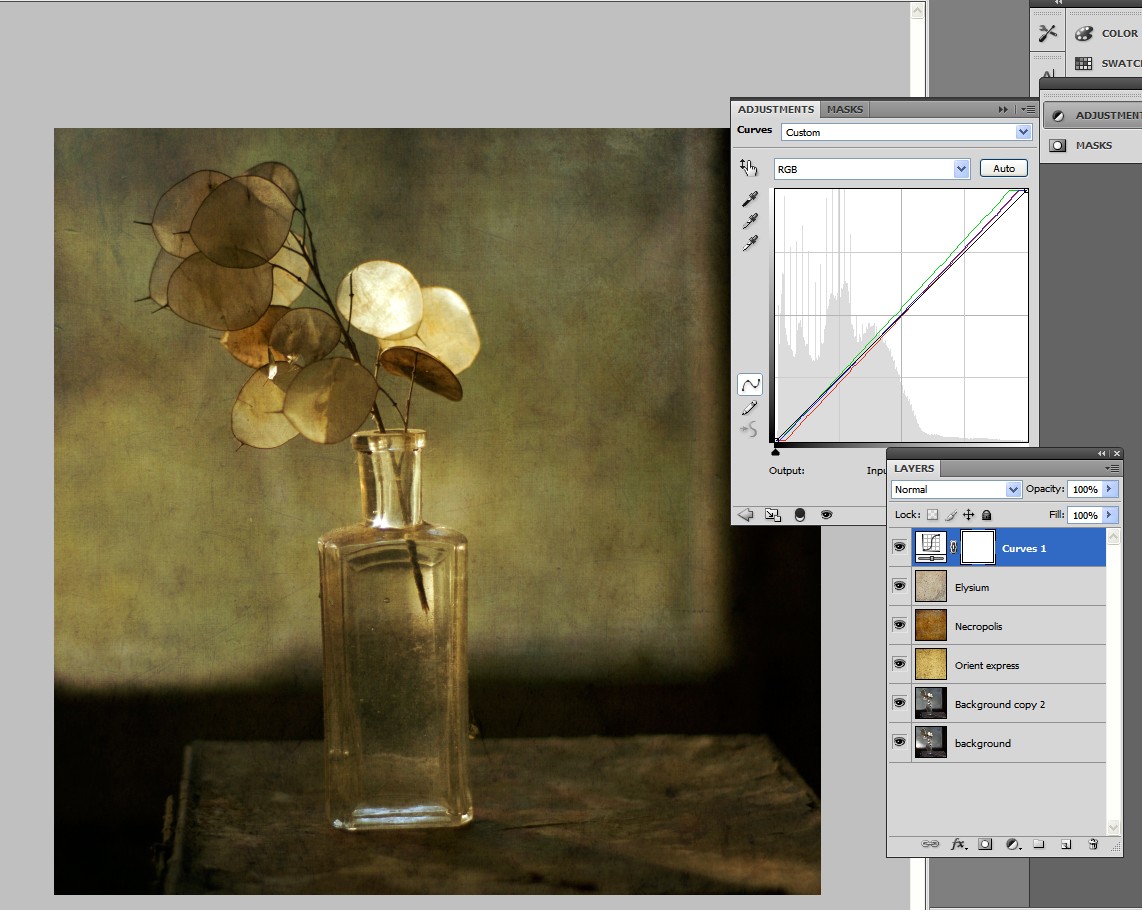
And we’re done!