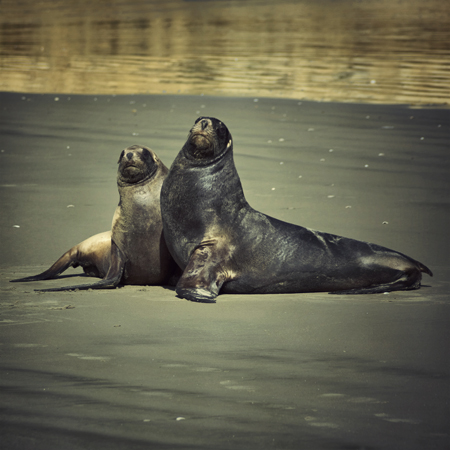

About a month ago I visited a local beach with my son, intending to take photos of him but when we looked over the sand dunes we were surprised to see this pair of NZ Sea Lions a short distance away. Naturally I rushed back to the car to exchange my short lens for a longer version as these guys don’t like you getting too close, they are surprisingly fast movers too and you had to keep an eye on them especially if you got between them and the sea.
This is but one of the many photos I took that afternoon and was processed with Flypaper Textures to add a bit of depth and a vignette
The Flypaper Texture I used was Caramel Soft, as well as adding texture it gives a slight vignette effect. I used it at Soft Light 100% This layer was blurred an desaturated.
As well as the texture I used a vintage film effect (a combination of curves, colour layers etc) to mute the colours.
Once I was happy with the effect I used the stamp visible command on a PC it’s Ctrl -Alt -Shift -E duplicated that layer and changed it to a Smart object from the drop down filter menu, this wonderful feature which was introduced in PS CS3 lets you go back and edit your filter settings.
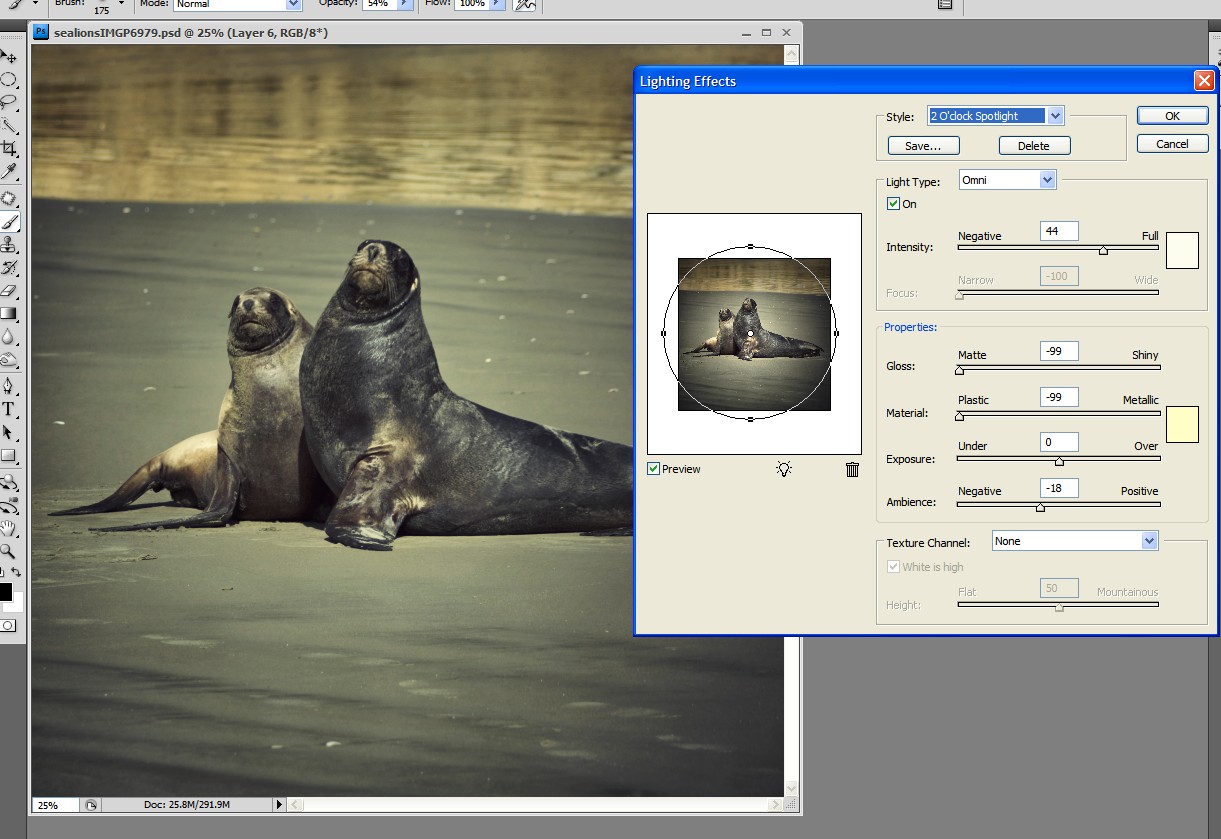
Then I used Render lighting from the Filter menu to add more of a vignette. From the render lighting dialogue I selected a 2’oclock spotlight and omni and then tweaked the settings, this can take a while as there are lots of controls to play with, as well as intensity you can also change the colour of the light and the size etc.
See the following screenshot for more details.